Report Walkthrough
- Creating a Report
- Table of Contents
- Saving, Abandoning, Publishing, and Emailing a Report
- Inspection Workflow & Fields
- Finalizing a Report
Creating a Report
Go to a site or project and under the Recent Activity widget, you will see a few tab options below. NOTE: In the sample below, there could be tabs that are different from what you see on your account.
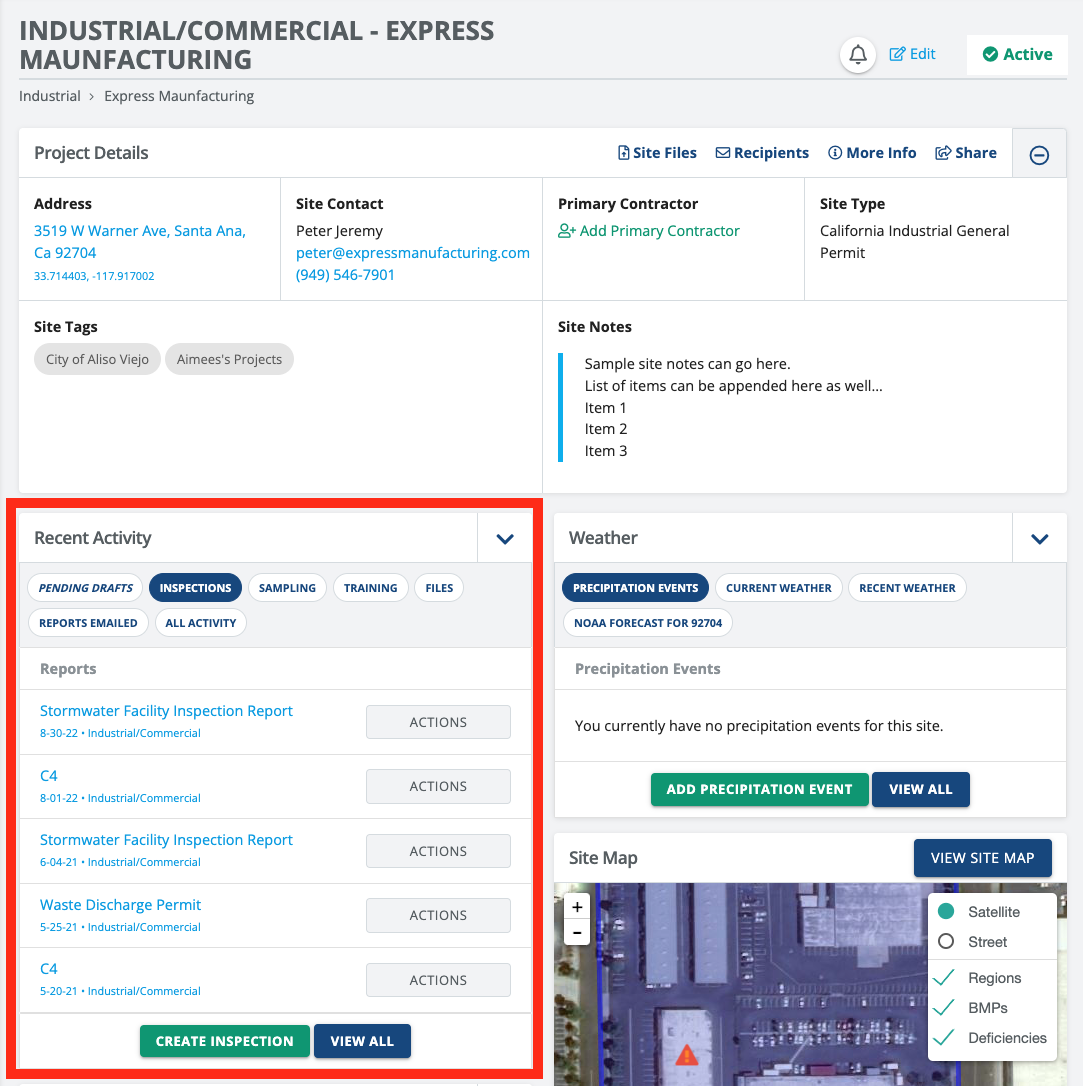
Most regular inspections will be inside the INSPECTIONS Tab. The Inspections tab can include but is not limited to:
- Weekly/Bi-Weekly/Monthly Inspection reports
- BMP Inspection reports
- Construction Site Activities
- Routine Check-ups
- Stormwater Inspections
- CASQA reports
- Caltrans Reports (e.g., CEM 2030, CEM 2031, etc.)
- And more...

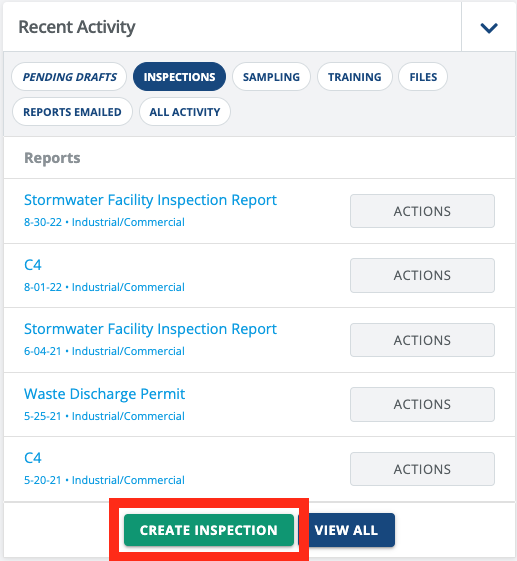
Under Inspections, select CREATE INSPECTION.
NOTE: If your site/project has more than one inspection report available, you may find additional reports to choose from through the dropdown option as seen below. If you only have one report available, you will be directly taken to that report.
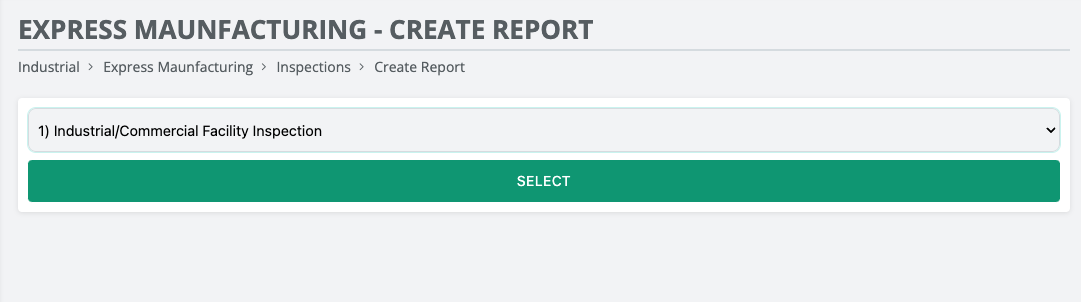
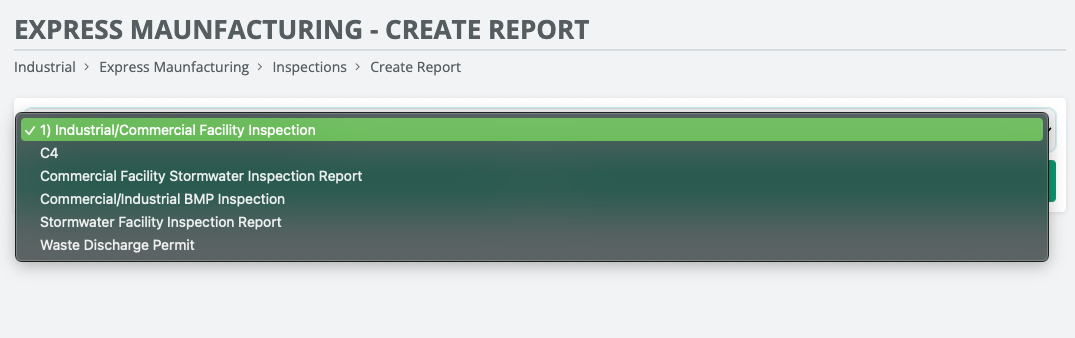
Table of Contents
MOST reports will have a Table of Contents page where you can quickly navigate through the inspection report effectively. In most cases, reports usually start off with a General information tab on top, inspection checklist items in the middle, and then follow through with General Photos and Certifications towards the end.

Keep in mind that each report is unique and can look different than the sample above.
When entering a page, you can go back to the Table of Contents page or continue on to the next page using the options above or below the end of the form.

Saving, Abandoning, Publishing, and Emailing a Report

Abandoning Draft
- Permanently deletes the report from the system. Idealy for avoiding one too many reports saved as DRAFTs.
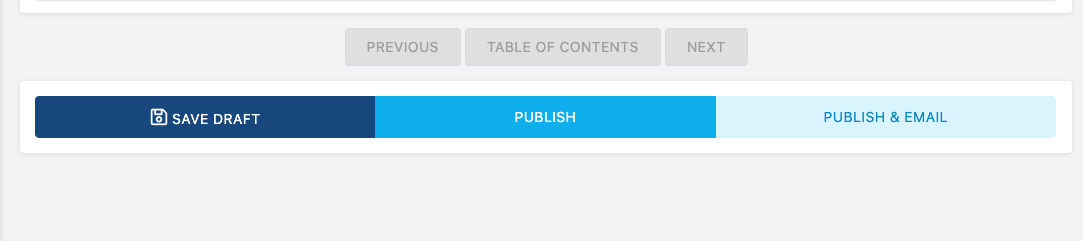
Save Draft
- Saves the report as a DRAFT and it is quickly accessible through the site/projects homepage. Ideal for returning back to the current report and making changes to it. IMPORTANT: It is highly recommended to PUBLISH the report at all time times even if you are not completely finished. You can always go back to the report and make any changes. Having too many DRAFTs can cause data loss on reports that supersede the previous one.

Publish
- Publishes the report to the system. Allows downloading a PDF version and emailing it out. When a report is published, all data is then translated over into the system for analytic tracking. Editing is allowed at any time.
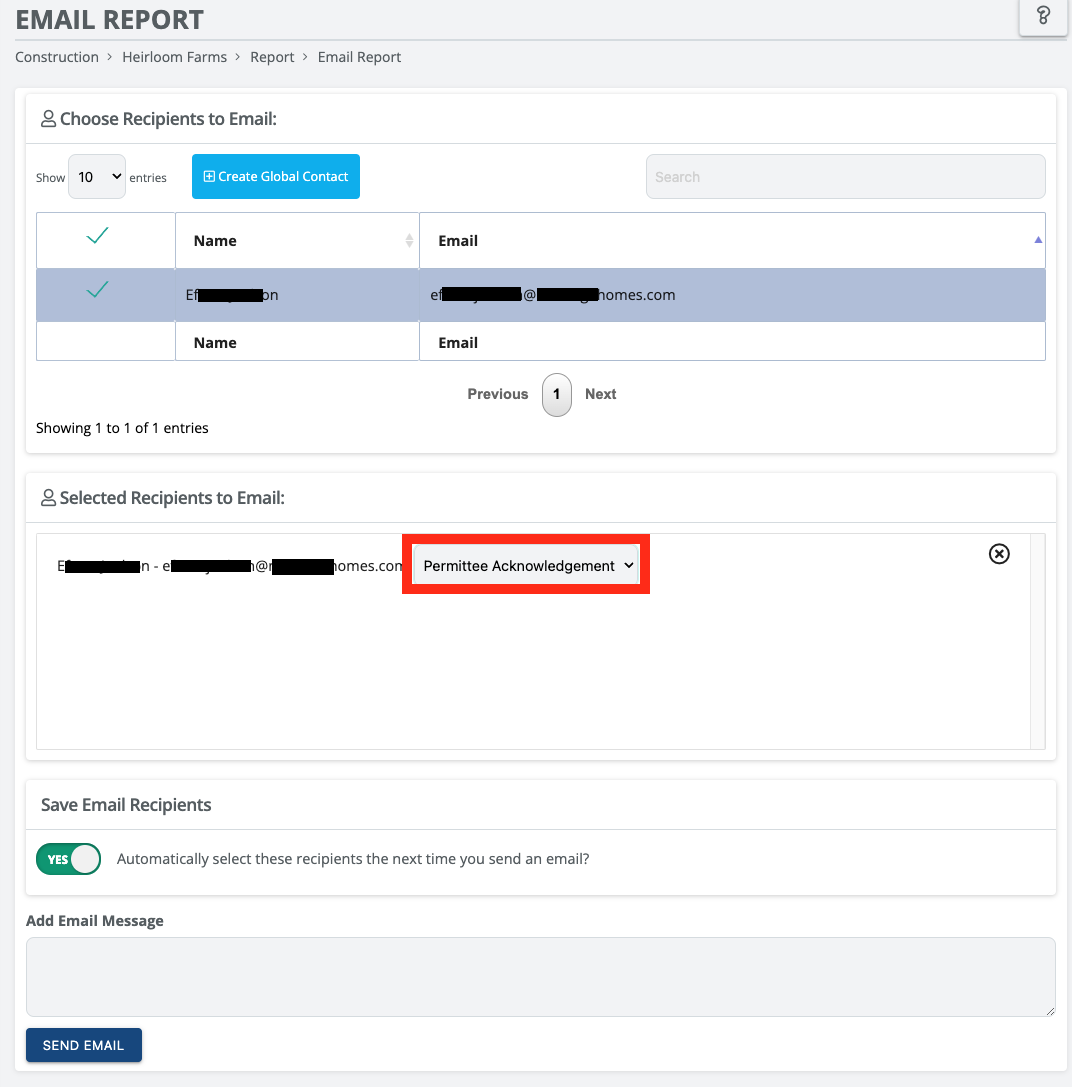
Publish & Email
- Publishes the report to the system and opens a new page that allows you to email the current report to other recipients.
Auto Save Technology
- Reports will autosave every 60 seconds in the event that you somehow lose access to the report you are working on.
Inspection Workflow & Fields
If you are creating the very first inspection on a new site/project you will notice many fields have already been filled in for you. Most of this data is coming in from the sites/project details page which can be viewed and/or modified on the 'Edit' section from the site's homepage.
There may be other fields left empty on the first report; however, some of this data will carry on to the next inspection report to make your work process easier. So the first inspection report may require a bit more work.

Note that ANY of the fields that already have data on them can be overwritten.
Multi-Select Fields

If you come across a multi-select field, you are able to choose none, one, or more options from the list. To select more than one option do this:
- Apple MacOS - Press and Hold CMD and choose each item.
- Windows PC - Press and Hold Ctrl and choose each item.
Weather Fields
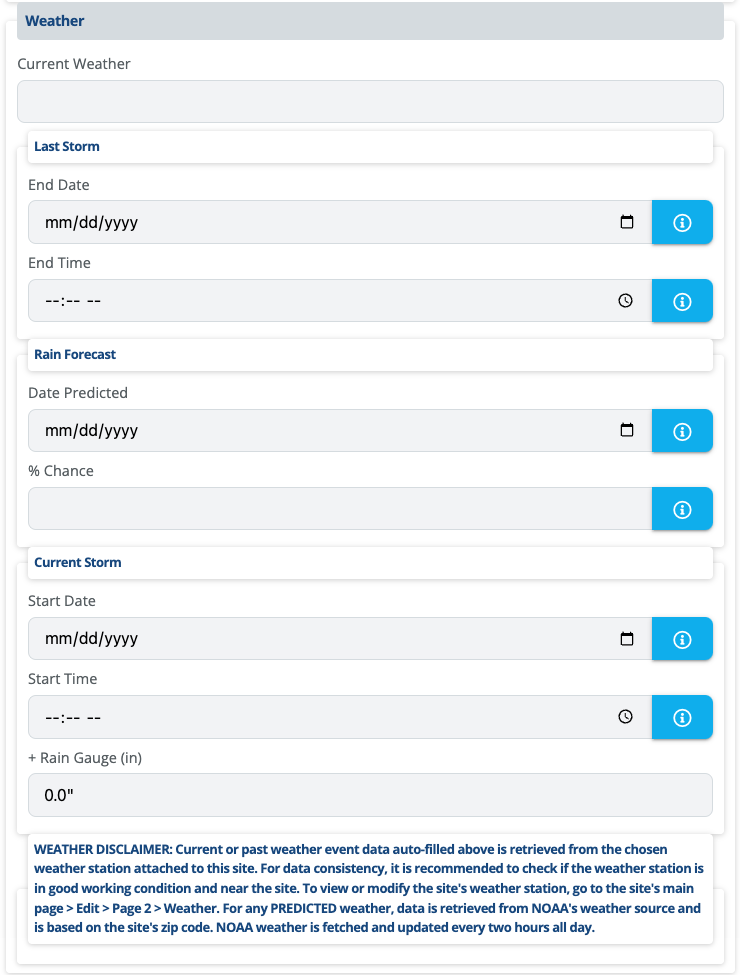
Autofill weather data is typically pulled in from either the weather station that is chosen for that site or from NOAA based on the site's zipcode.
Couple of things to know about our auto-fill weather technology:
- ANY PREDICTIVE Weather is coming from NOAA's weather data source and is updated in approximately 2-hour intervals. For consistency, ensure the zip code is present and accurate to the location.
- ANY CURRENT or PREVIOUS Weather events are coming from the site's weather station and it is updated every time the weather station sends us information. Updating intervals depend on the weather station and API connection. Intervals can range from 30 min to hours. For consistency, ensure that the weather station is in good standing (operational) and near the site/project.
- Any of these fields can be overwritten.
Text Areas /Boxes
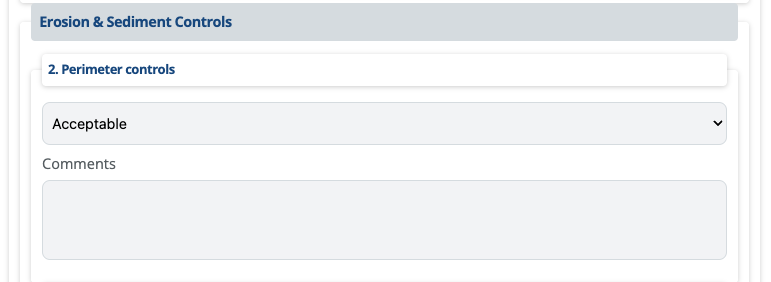
The "Comments" box above is what we call a "Text Area" and can hold up to 1,000 characters. That is about a couple of paragraphs long. Depending on the report, this field can also accept listed items.
Deficiencies
The Deficiencies field group is a group of fields all compressed into one section. It is always preceded by a toggle button.

The "Add Corrective Action?" may be different depending on the structure of your inspection report. In some instances, you will see: "Has deficiencies?", "Maintenance Required?", "Corrective Action(s)?", etc.
To add a deficiency, "YES" has to be toggled.
Then Click on the green "+" or "+ Add Deficiency" button right below it.
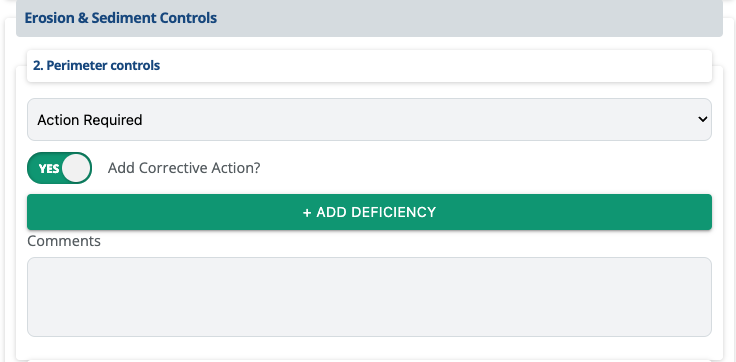
NOTICE: Your deficiency field options may look different than or example below but the workflow should be similar and helpful to get you going.
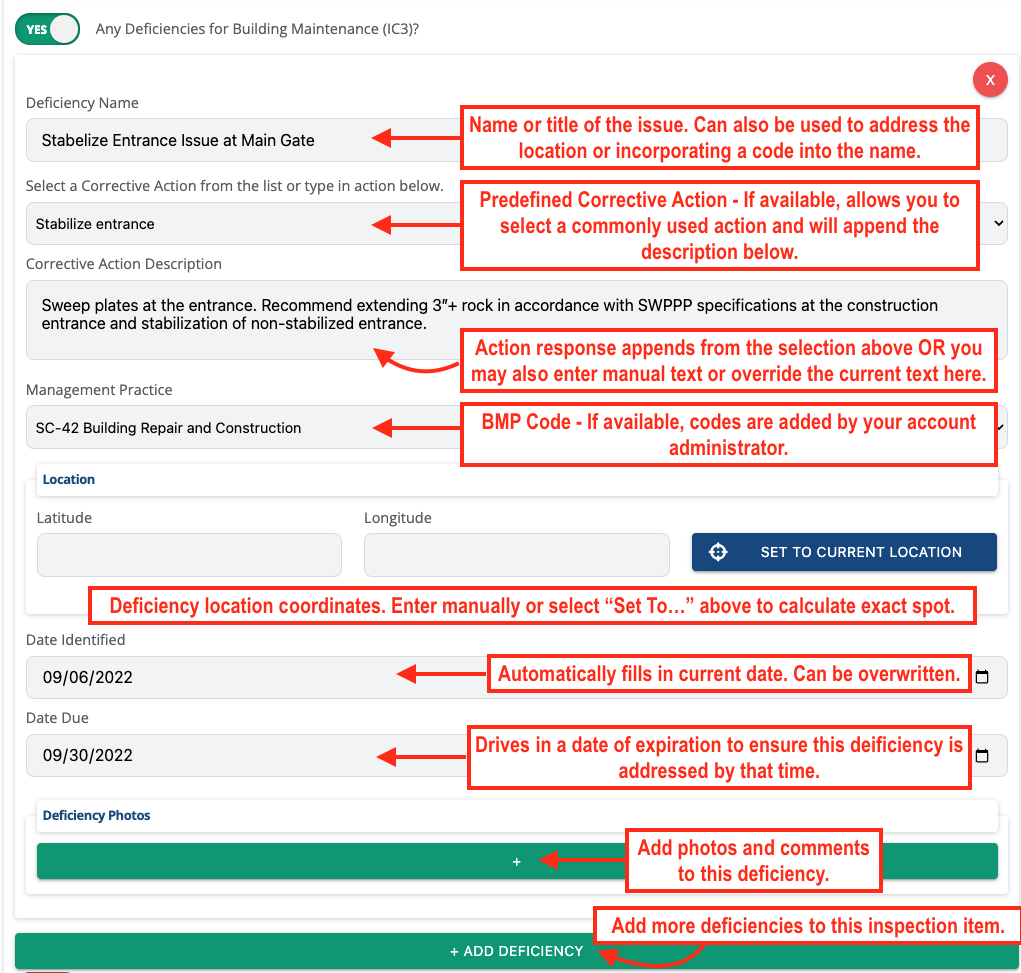
See our Deficiency Lifecycle, Management, and Resolution article to learn more about deficiencies.
Enforcements
If an enforcement component exists on the report, you can create an enforcement through the inspection report. This allows you to create an "escalated" action or a violation for non-compliance.

Enforcements will communicate with the Enforcements program on your account for reporting and management purposes.

Like the deficiency component, one or more Enforcements can be created. The same goes for Required Actions.
Photos
Photos can be uploaded in JPEG, JPG, or PNG formats. If a photo is taken or uploaded from your device, the file type will automatically be converted.

Depending on the report, multiple photos can be added to the report. This is the same for Deficiency, BMP, and Enforcement components.
NOTE: PDFs, GIFs, and movie-type files are not allowed.
Finalizing a Report
After adding the appropriate signatures and finishing up the report select PUBLISH or PUBLISH & EMAIL to save the report to the system.
If PUBLISH & EMAIL is chosen, you will have the option to email out the report to one or more recipients. If applicable, you may also request a response from the recipient in order to finalize this report. For example, a signature from the Permittee is required.