Deficiencies are:
- always linked to a site;
- always have a level of severity;
- always have an identification date;
- always have a resolved date (and who resolved it) once resolved;
- may have a due date;
- may be assigned to a user;
- may be linked to a management practice type (like a sediment or erosion control); and
- may be linked to a site management practice configured via the site map.
Creating a Deficiency
There are three main ways to create a deficiency.
[1] Via a Report
Many BMP and site inspection forms include one or more sections for entering deficiencies. On some forms, this will be inside a list of a site's management practices, and in some forms, it will be stand alone, but it will usually look like this:
Once you press yes, then you will see a + button to start adding deficiencies, like this:
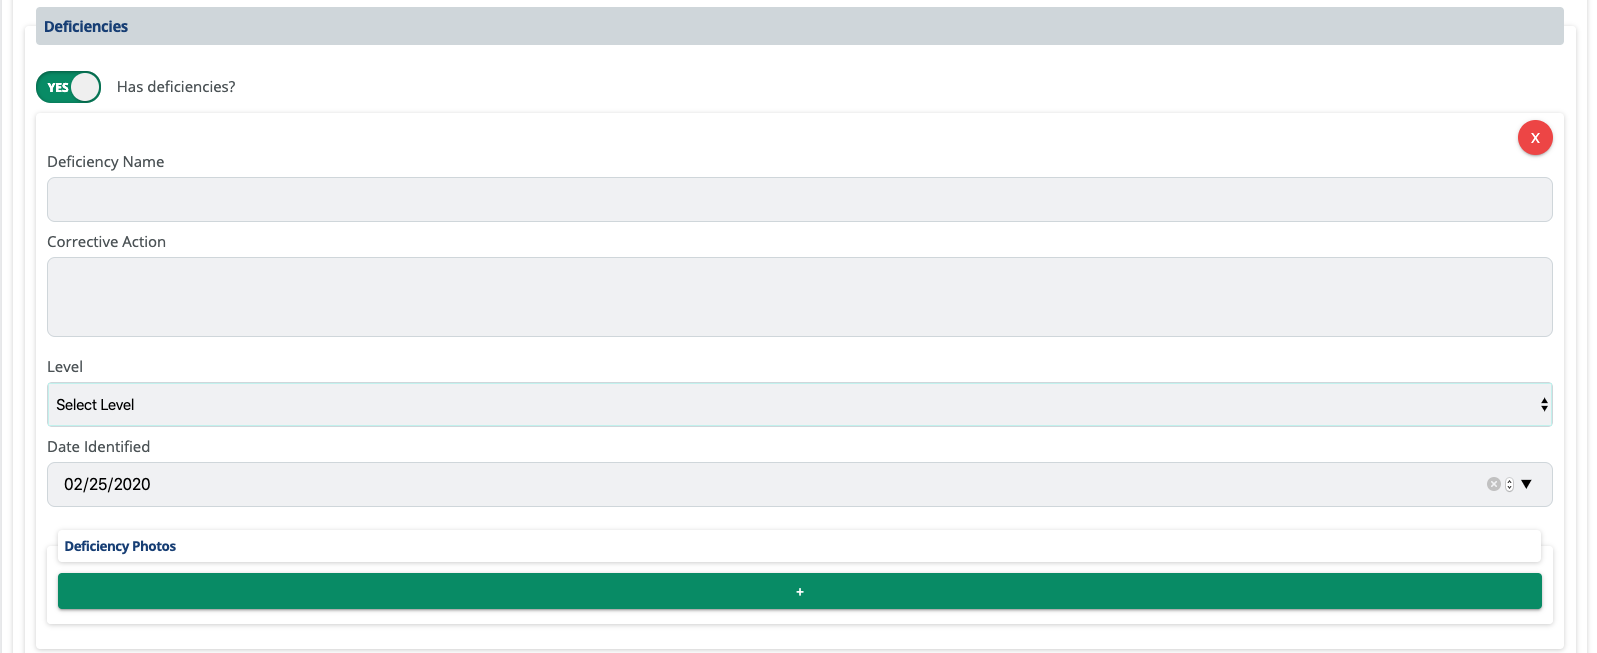
Once you expand this, you will be prompted with a set of fields to fill out about the deficiency. While a specific form may only have some subset of these fields, it will usually appear about like:
The level (High, Critical, Medium, Low) field is used to specify the severity of the deficiency, something that can be configured to automatically set the number of days before a deficiency is due. The other fields will all carry over to the deficiency tracked as described later on in this article, including not just the name and corrective action description, but also any photos you attach.
If your reports do not support adding deficiencies via the form, and this would be useful to you, please contact CloudCompli support.
[2] Via the Site Map
One may add a deficiency directly through the Site Map on the bottom right section of the site page.
To add a deficiency, press the caution sign button and drag and drop the deficiency to the appropriate site on the map:
You will then be prompted to enter deficiency details:
[3] Manually
One may create a deficiency manually.
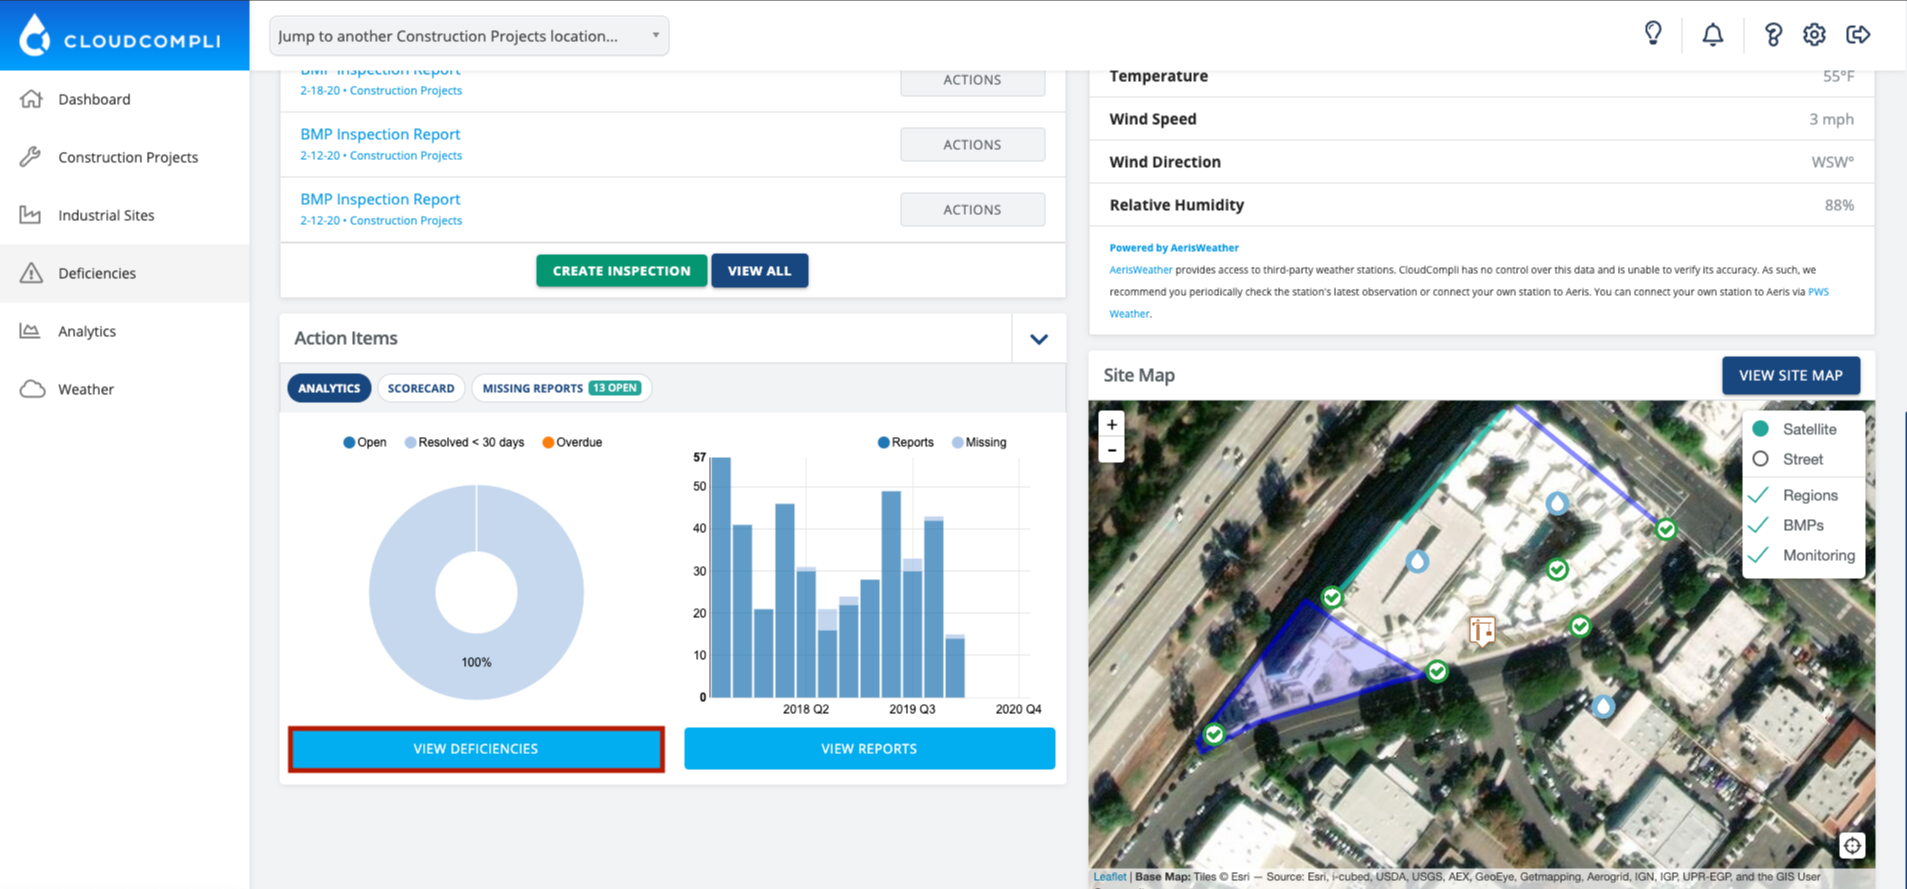
To do this, first press View Deficiencies from the site dashboard:
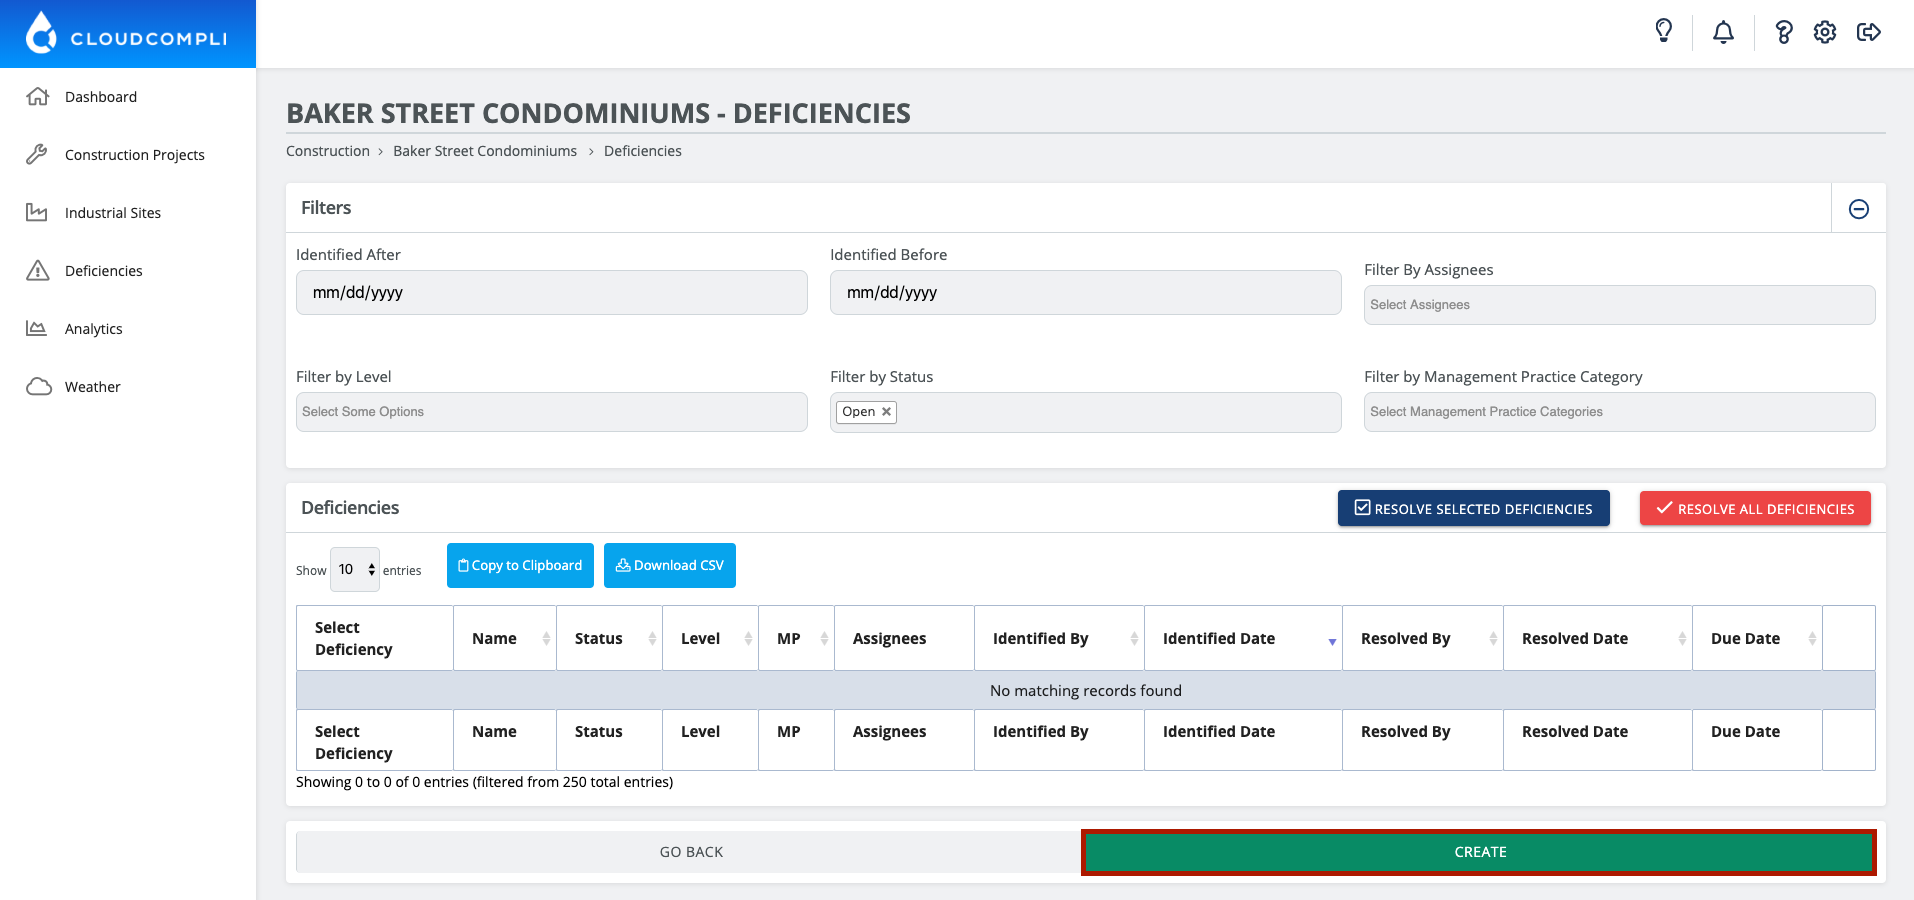
Once you have done this, scroll to the bottom of the page and press Create:
You will then be prompted with a form to create the deficiency.
Working with Deficiencies
Once a deficiency has been identified, it shows up in several places.
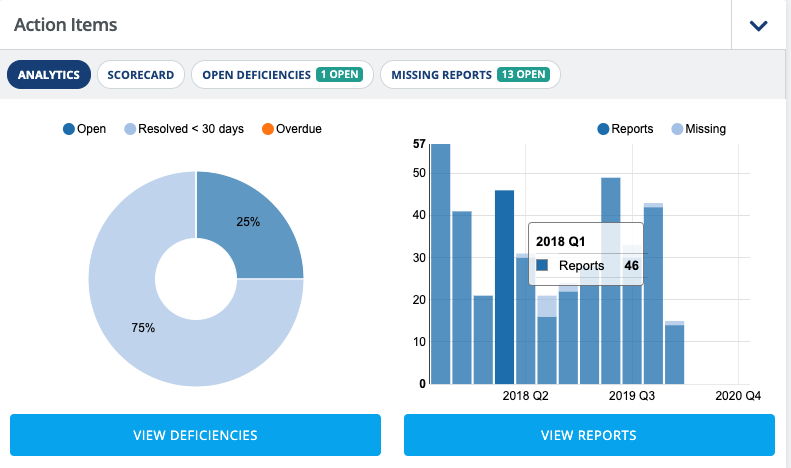
On the site dashboard, the Action Items widget includes a pie chart showing the number of unresolved deficiencies and the number of unresolved deficiencies in comparison to the number of deficiencies resolved within the last 30 days. If there are any open deficiencies, this widget will also have a Open Deficiencies tab that will list these deficiencies:
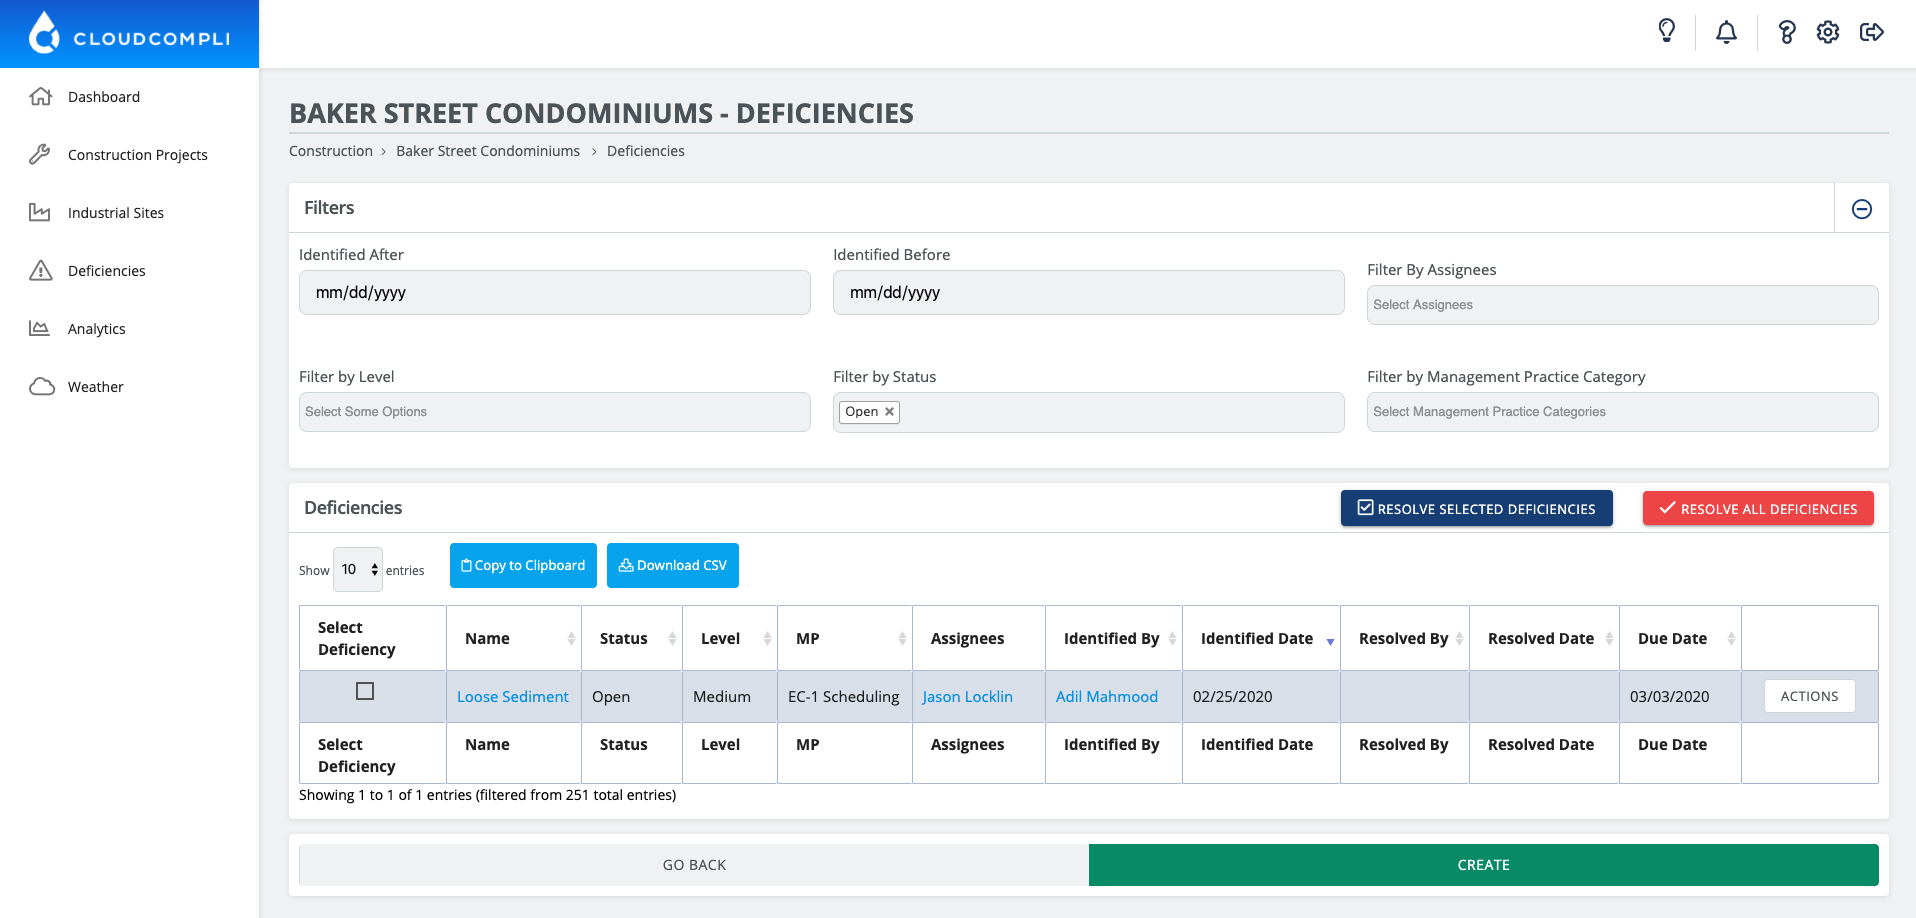
If you press the View Deficiencies button, you will be taken to a list of deficiencies. By default, all open deficiencies will be listed, but you can modify your filter parameters to view resolved deficiencies or only those associated with specific conditions such as assignees, level or management practice category:
The site map also shows deficiencies associated with the site. If a deficiency is associated with a management practice, the management practice icon will be red instead of green  , and if the deficiency is not associated with a management practice, then it will be a warning sign instead
  :
:
Deficiency Resolution
CloudCompli provides several ways to resolve a deficiency.
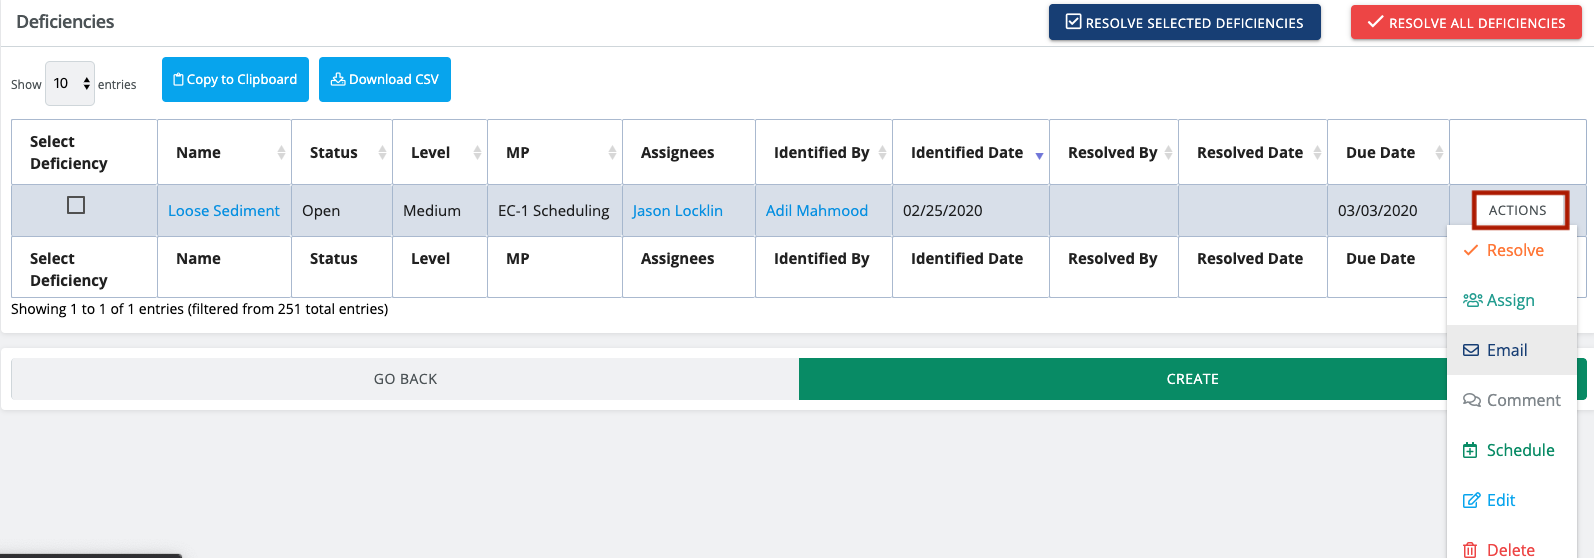
The first way is that, anywhere that you see the Actions dropdown for a deficiency, you should have the option to Resolve. Pressing this button will resolve the deficiency and note that you were the person who resolved it:
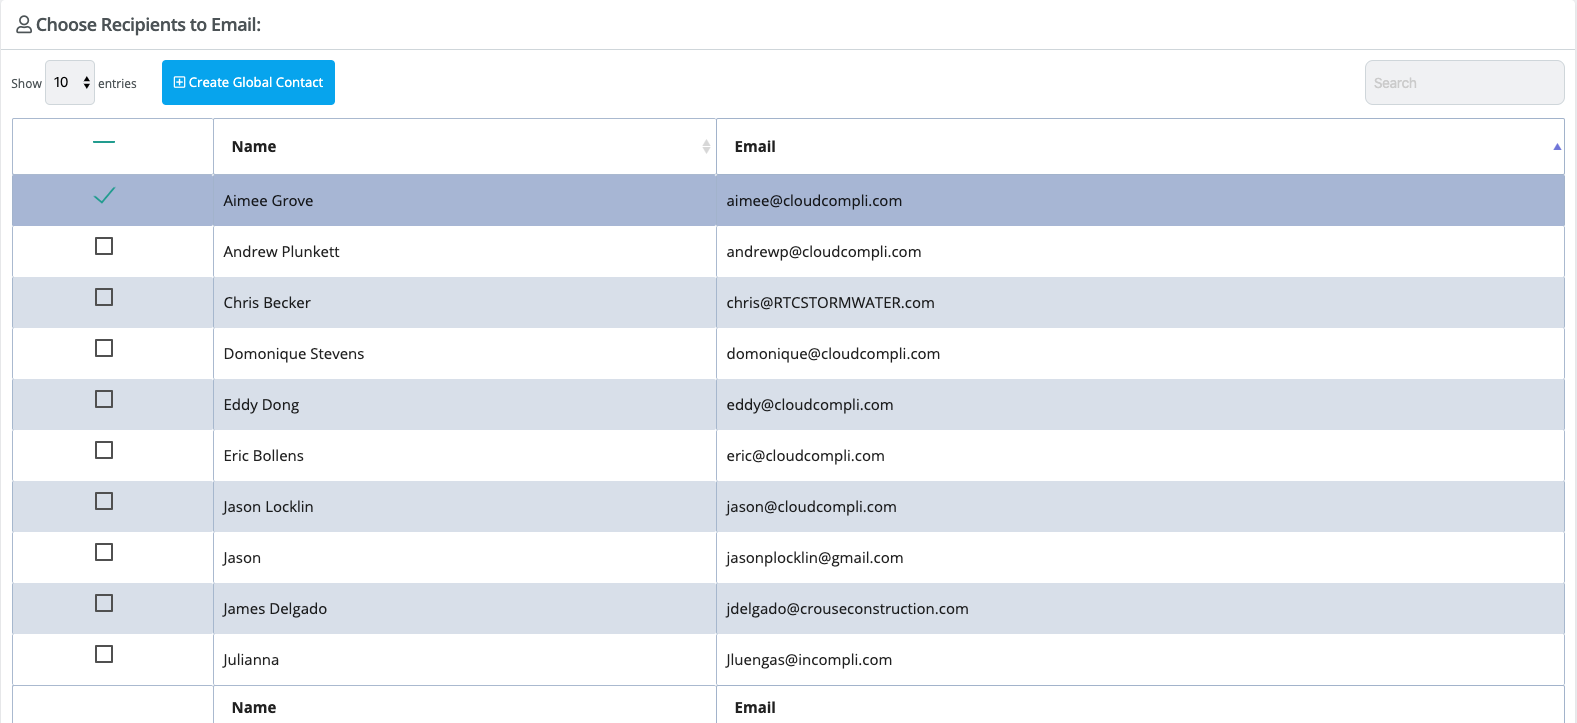
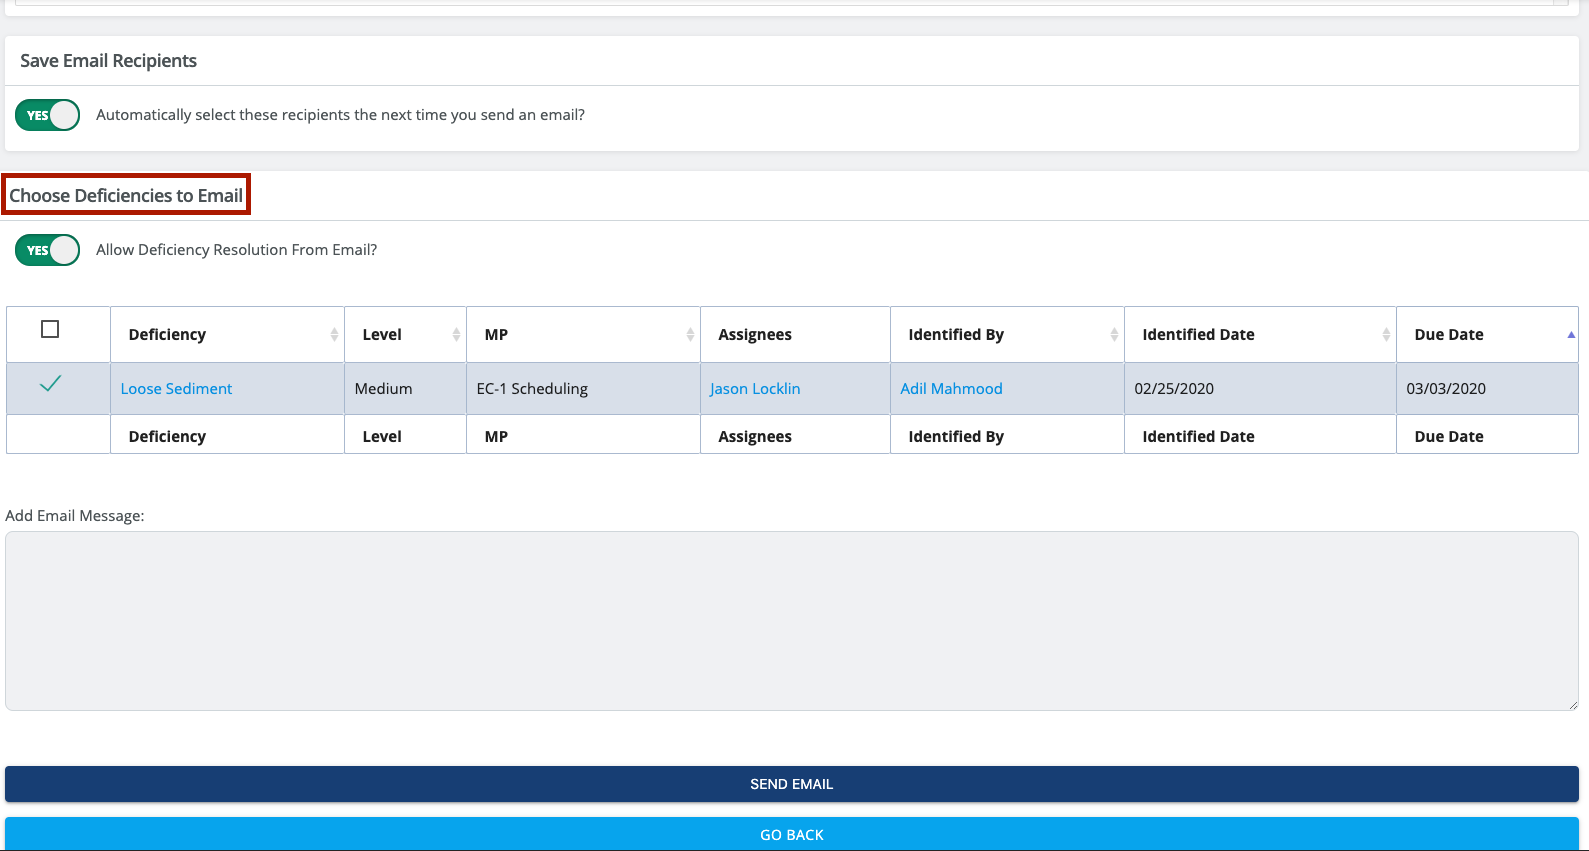
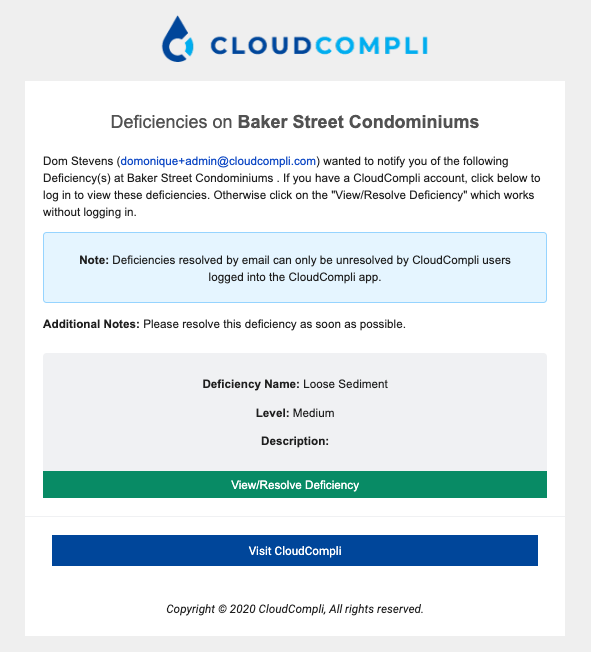
You may also select the Email option, in which case you will be taken to your contact manager to select whom should be notified about the deficiency. You may also include multiple deficiencies in this notification and, if you check the Allow Deficiency Resolution from Email button, enable the person receiving the email to resolve the deficiency. This works even if the notified party does not have a CloudCompli account, which can be useful if you're notifying a contractor on site that they need to resolve something:
Any users notified will receive an email with links to the deficiencies so that they may review, and potentially resolve, the deficiency.
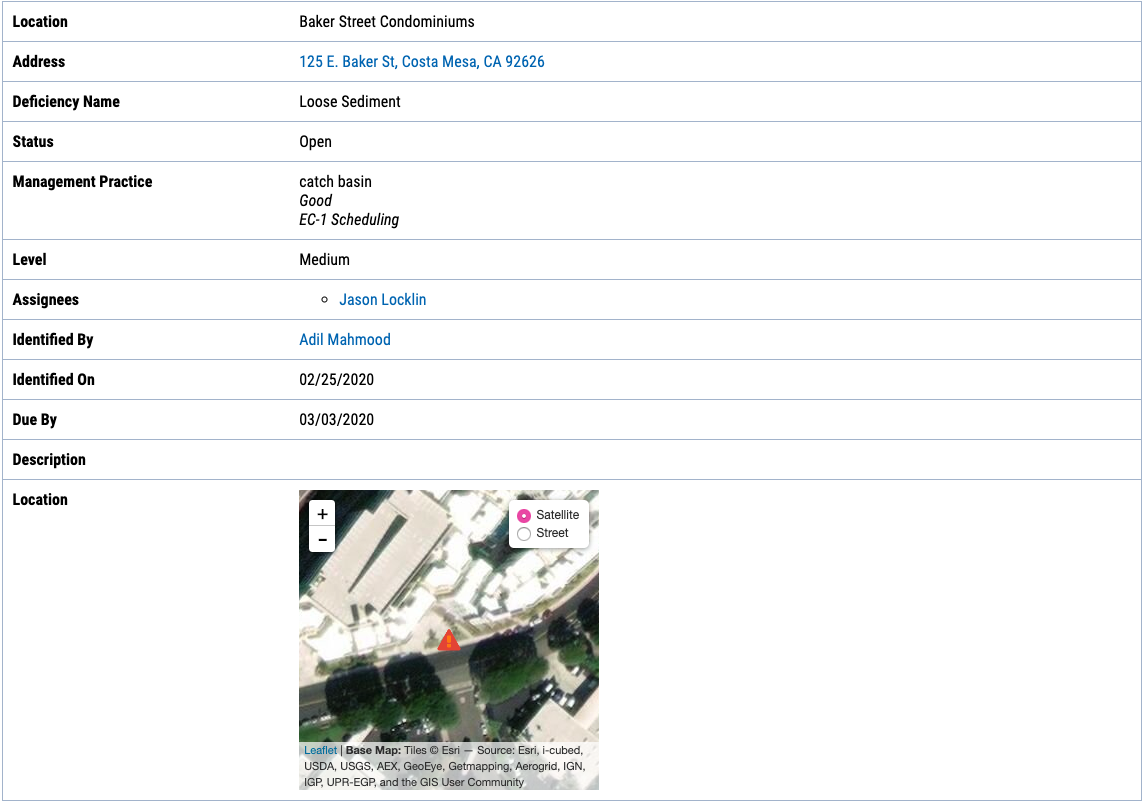
Following the link will present the notified party with a screen like, which includes the ability to resolve the deficiency (if the box was checked for resolution to be available when the email notification was sent):
In the event that you noted a deficiency on a report, unresolved deficiencies may also be autofilled into the next report. This behavior is intended to make it easy for an inspector, returning to the field, to quickly note which deficiencies were present last time so that nothing is missed. If the deficiency is no longer present, simple press the X button to remove the deficiency. This will not delete the deficiency data from the site but rather simply remove it from the report and resolve it on the site.


