
The Site Tag feature allows you to organize and filter through sites/projects seamlessly. They are also a great filtering tool on the Analytics page. All users who can edit a site can attach tags to the site/project (see Site Search Tags and Statuses to learn more).
Account administrators have the ability to add or edit site tags via the settings page on the account. To create new tags in the system, contact your account administrator.
Adding New Tags
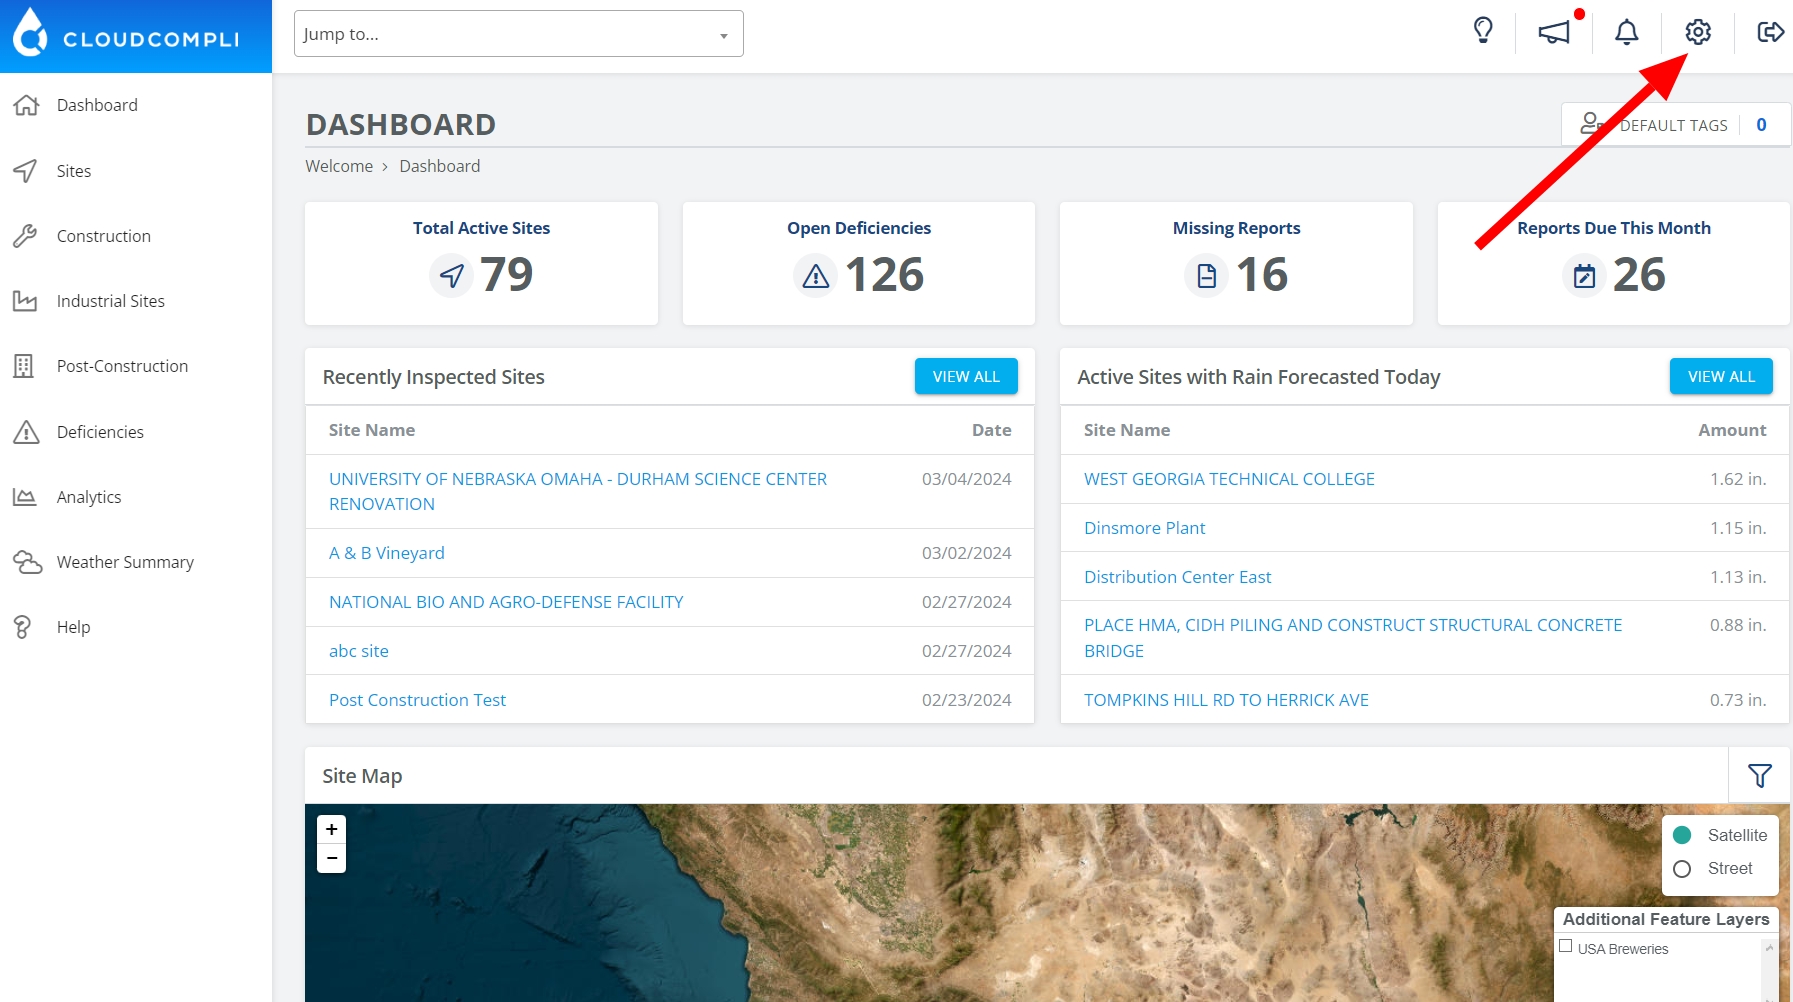
Go to the System Settings page
Scroll down to App Settings and click on Site Tags.

Add a tag by selecting the Add Site Tag button.

Give the tag a Name, Description (optional), Category (optional), and chose if you want it to be used to grant permissions.

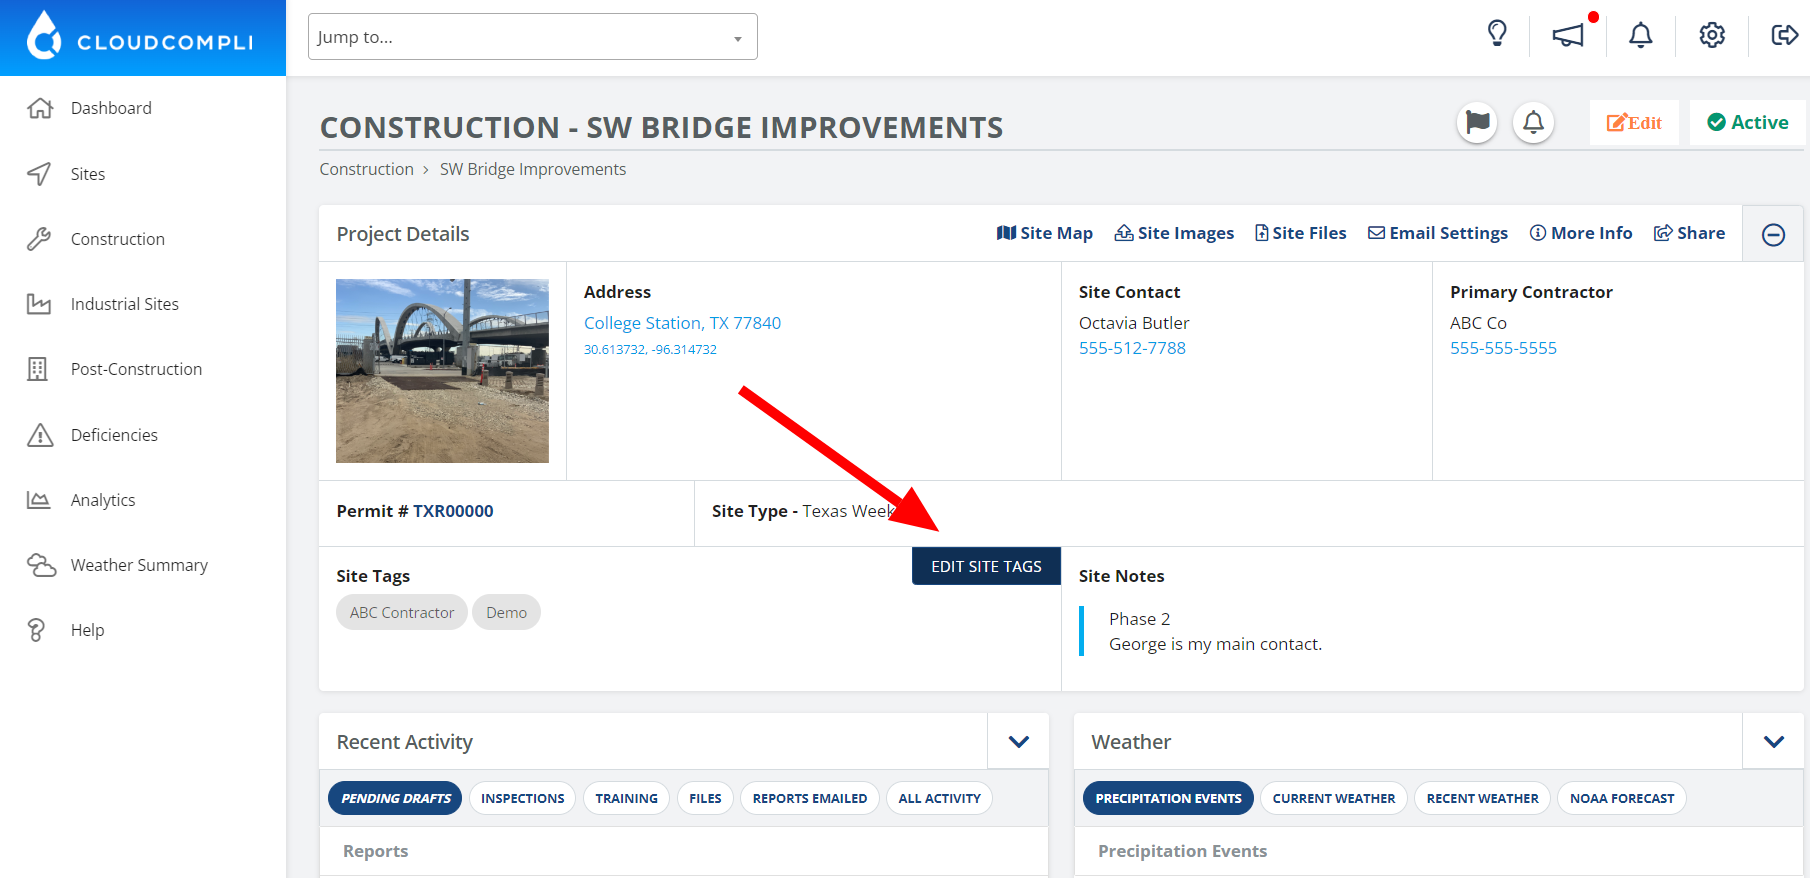
Adding a site tag to the Site
When you have selected the desired site, click on the EDIT SITE TAGS button
Click on the tags bar and select the desired tag from the drop-down.
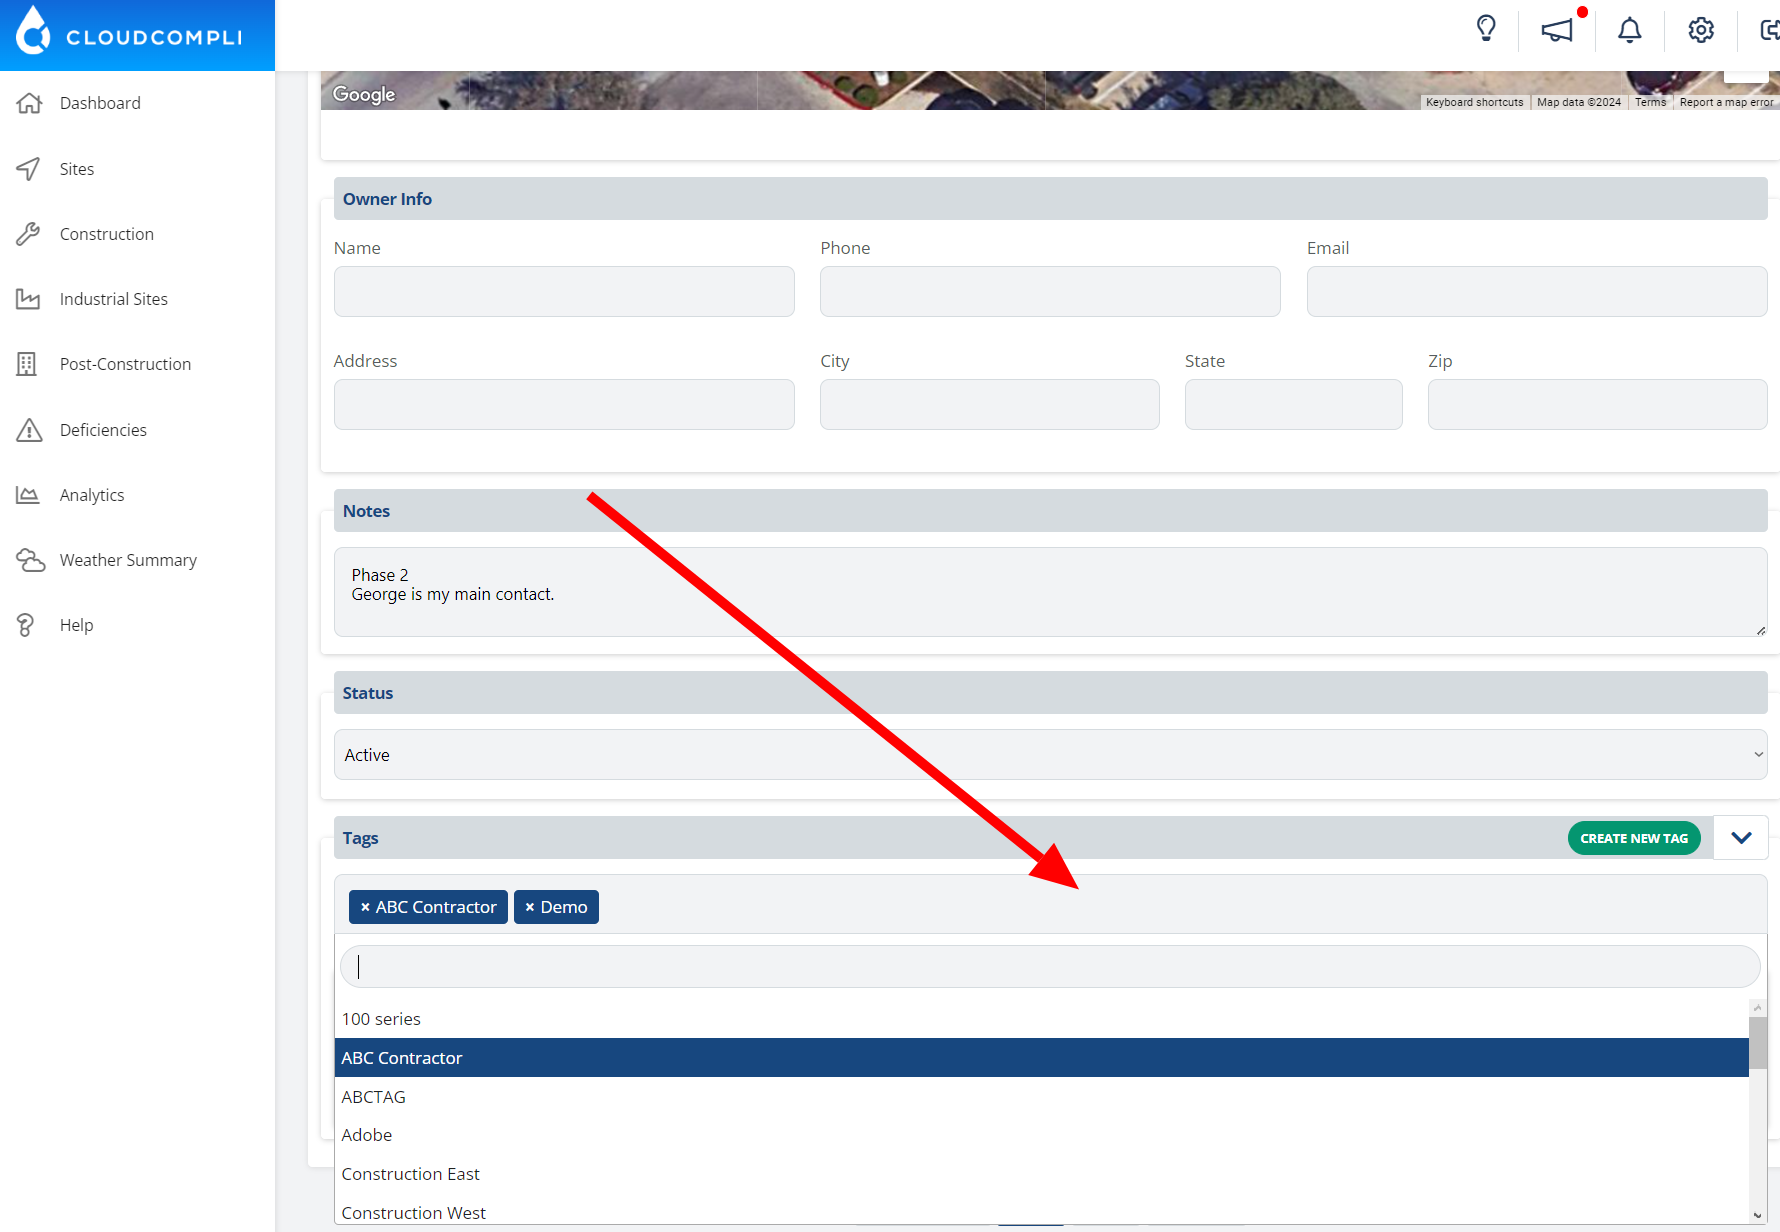
Once selected click on the submit button to apply the tags to your site.
Use to Grant Permissions
Enabling this feature allows Restricted Users to be assigned to one or more sites with this tag. Ideal for users that should only have access to these sites and not others. Assigning a restricted user to a tag can be done within the Users page.

John Doe is a restricted user assigned to the Brighton sites (s) only. John is able to view, create inspections, manage deficiencies, and edit (but not delete) all sites with the Brighton tag attached.
Tag Categories
Assign a category to your tags. Categories can have different use cases that suit your needs. One example is: assigning specific tags to an Inspector or Contractor Category
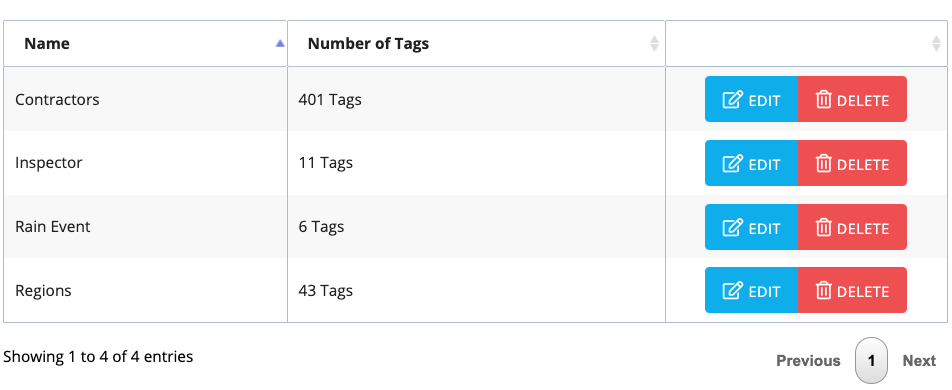
You may have multiple contractors that need access to certain sites. Other use cases can be City, Regions, Organizations, Business Type, etc.